From Idea to Finished Carpentry Project – How to Plan the Entire Process

From Idea to Finished Carpentry Project – How to Plan the Entire Process
A carpentry project rarely begins with a saw or a hammer – it starts with an idea. Perhaps you’re dreaming of a new garden deck, a bespoke bookshelf, or a shed at the end of the garden. Whatever the size of your project, careful planning is key to achieving a result that’s both functional and beautiful. Here’s a step-by-step guide to planning the entire process – from the first spark of inspiration to the finished piece.
Start with the Idea and Your Needs
Before you pick up any tools, take time to define what you want to achieve. Ask yourself:
- What is the purpose of the project?
- What needs should it meet – practical, aesthetic, or both?
- How much time and money can you realistically invest?
Sketch your idea or gather inspiration from magazines, websites, or social media. This helps you visualise the finished result and ensures your design fits your home or garden.
Create a Realistic Plan and Budget
Once your idea is clear, it’s time to plan. Make a list of the materials, tools, and equipment you’ll need. Research prices and create a budget that includes a contingency for unexpected costs – there’s almost always something you didn’t anticipate.
Think about your timeline too. How long will the project take? Can you spread the work over several weekends, or will you need to take time off? A realistic plan helps you stay organised and reduces stress as you go.
Drawings and Permissions
Even small carpentry projects benefit from a detailed drawing. It doesn’t have to be professional, but it should clearly show dimensions, materials, and structure. For larger projects – such as a garden building, carport, or extension – check whether you need planning permission or building regulations approval.
In the UK, local councils can advise on what’s required. It’s also worth checking property boundaries and any restrictions in your area before you start. A quick conversation with your local planning office can save you a lot of trouble later.
Choose the Right Materials
Your choice of materials affects the look, durability, and maintenance of your project. For outdoor work, use pressure-treated timber or naturally durable woods like oak, cedar, or larch that can withstand the British weather. For indoor projects, pine, beech, or MDF are popular options depending on whether you want a natural or painted finish.
Consider sustainability too. Many UK timber suppliers offer FSC- or PEFC-certified wood from responsibly managed forests – a choice that’s good for both your project and the planet.
Læs også:
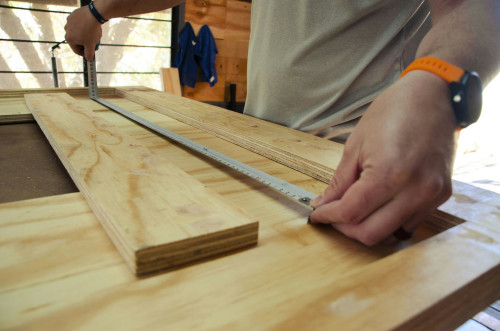
Prepare Your Workspace
A well-organised workspace makes the job easier and safer. Make sure you have:
- A stable work surface and good lighting
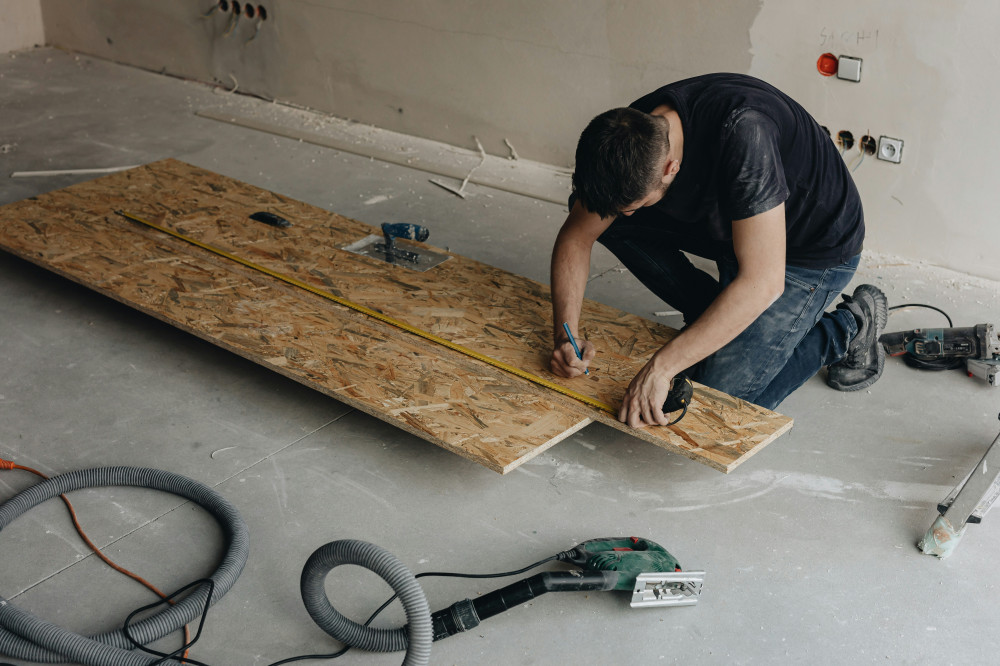
- The right tools ready – such as a saw, drill, spirit level, and tape measure
- Safety gear including gloves, ear protection, and safety glasses
Clear the area where you’ll be working so you have space to move freely. Good preparation reduces the risk of mistakes and accidents.
Carry Out the Work Step by Step
When you start building, follow your plan but stay flexible. Begin with the structural parts and check regularly that everything is level and square. Take your time with joints and fixings – precision here will make your finished piece stronger and more attractive.
If you run into a problem, pause and think it through before continuing. It’s far easier to make small adjustments along the way than to correct major errors later.
Finishing and Surface Treatment
Once the structure is complete, it’s time to focus on the finish. Sand the surfaces smooth, remove dust, and apply a suitable treatment – such as oil, paint, or varnish. This not only enhances the appearance but also protects the wood.
For outdoor projects, use products designed to resist moisture and UV damage. Indoors, you can choose finishes that complement your décor and highlight the natural beauty of the wood.
Evaluate and Enjoy the Result
When your project is finished, take a moment to appreciate your work – and reflect on the process. What went well? What could you improve next time? Every project teaches you something new and builds your confidence for future challenges.
A successful carpentry project is about more than craftsmanship – it’s about patience, planning, and the satisfaction of creating something with your own hands. With the right preparation, you can turn an idea into a solid, beautiful result that will last for years to come.
Læs også: