How to Plan Your Floor Renovation Step by Step

How to Plan Your Floor Renovation Step by Step
A floor renovation can completely transform a room – improving its look, comfort, and even the value of your home. But before you start tearing up old boards or ordering new materials, it’s essential to have a clear plan. A well-thought-out process will save you time, money, and stress. Here’s a step-by-step guide to planning your floor renovation from the first idea to the finished result.
1. Assess Your Current Floor
Before deciding what to do, take a close look at the condition of your existing floor. Is it simply worn and in need of refinishing, or are there deeper issues such as damp, squeaks, or uneven areas that require more extensive work?
- Wooden floors can often be restored with sanding and a new finish.
- Laminate or vinyl usually need replacing if they’re damaged or lifting.
- Tiles may be left in place if you’re installing a new floor on top, but check for height differences and door clearances.
A thorough assessment helps you choose the right approach and avoid unexpected problems later.
Læs også:
2. Choose the Right Flooring Type
Once you know what needs doing, the next step is to select your new flooring material. Think about appearance, practicality, and maintenance.
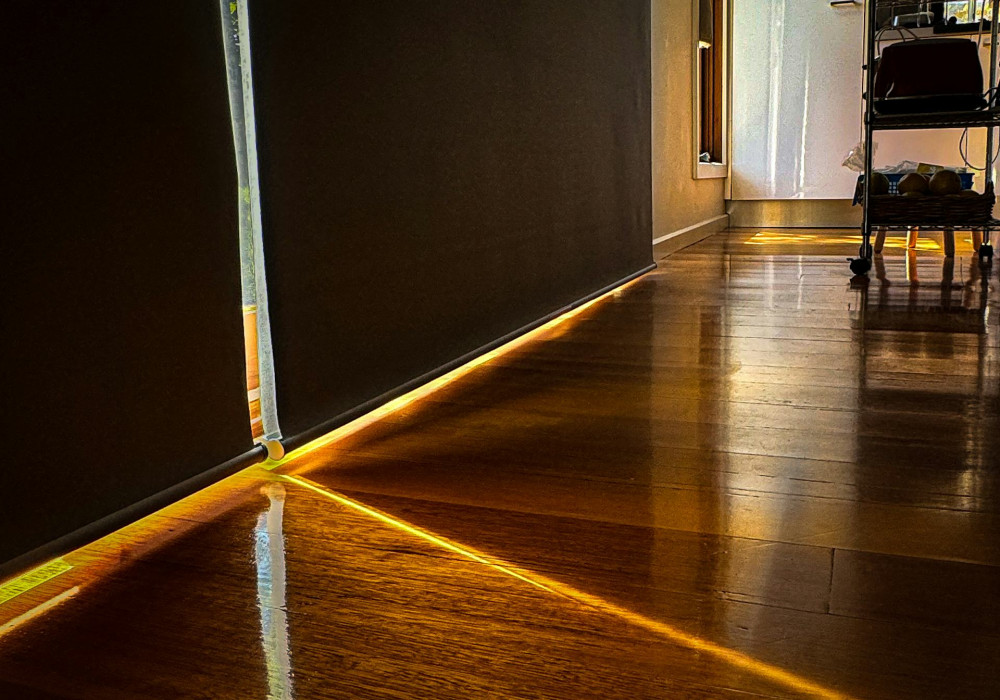
- Solid or engineered wood adds warmth and character but needs regular care.
- Vinyl and laminate are durable, affordable, and available in a wide range of designs.
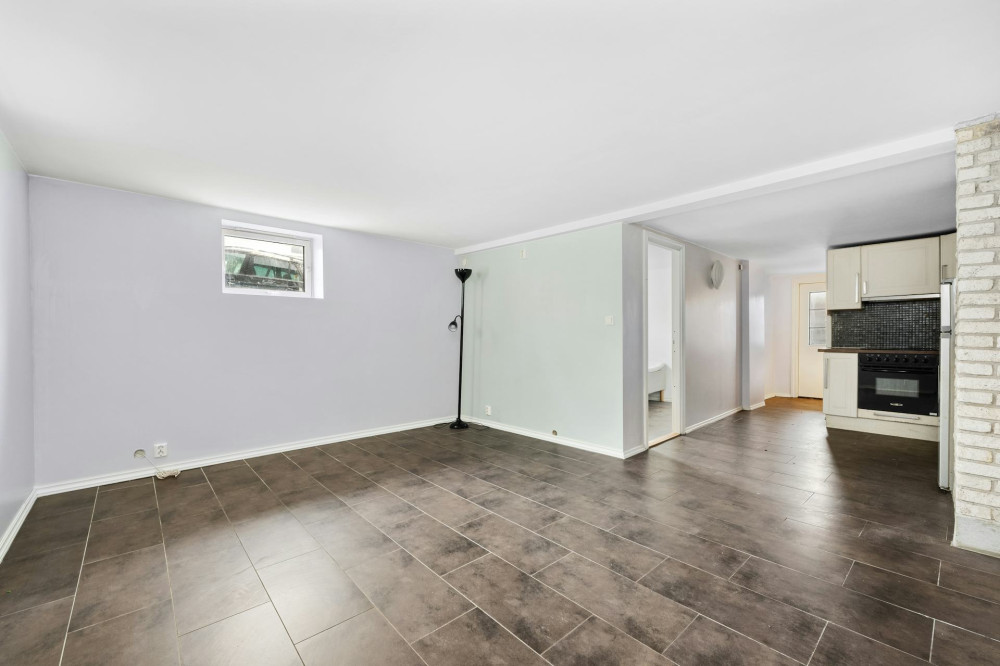
- Tiles are ideal for kitchens, bathrooms, and other areas prone to moisture.
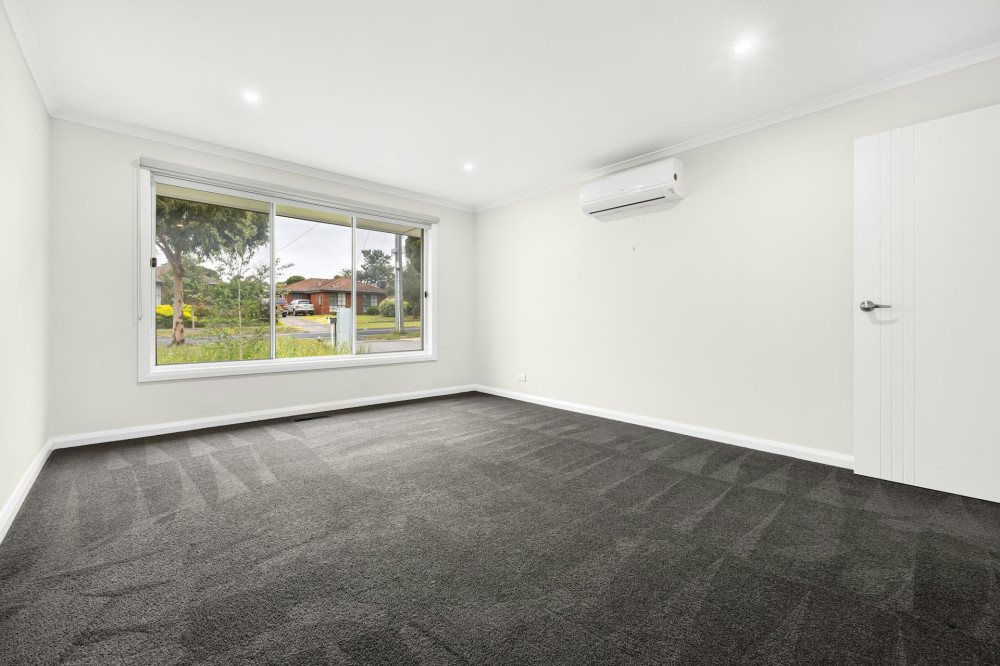
- Carpet brings comfort and cosiness to bedrooms and living rooms but is less suitable for high-traffic or damp areas.
Consider how the new floor will fit with the rest of your home’s style and colour scheme. A consistent look across rooms can make your home feel more spacious and cohesive.
3. Set a Realistic Budget
Floor renovations can vary widely in cost depending on materials, room size, and whether you do it yourself or hire professionals. Create a budget that includes:
- Flooring materials, underlay, skirting boards, and adhesives
- Tool hire or purchase
- Labour costs if you’re using tradespeople
- A contingency fund of around 10–15% for unexpected expenses
A clear budget helps you make informed decisions and prevents financial surprises.
4. Plan Your Timeline
A floor renovation can take anywhere from a day to several weeks, depending on the scope of the work. Plan a realistic schedule that accounts for:
- When the room can be cleared
- How long the installation will take
- Drying or curing times for adhesives, screed, or finishes
- When furniture can be moved back in
If you’re living in the property during the renovation, consider doing one room at a time or scheduling the work while you’re away.
5. Prepare the Room Properly
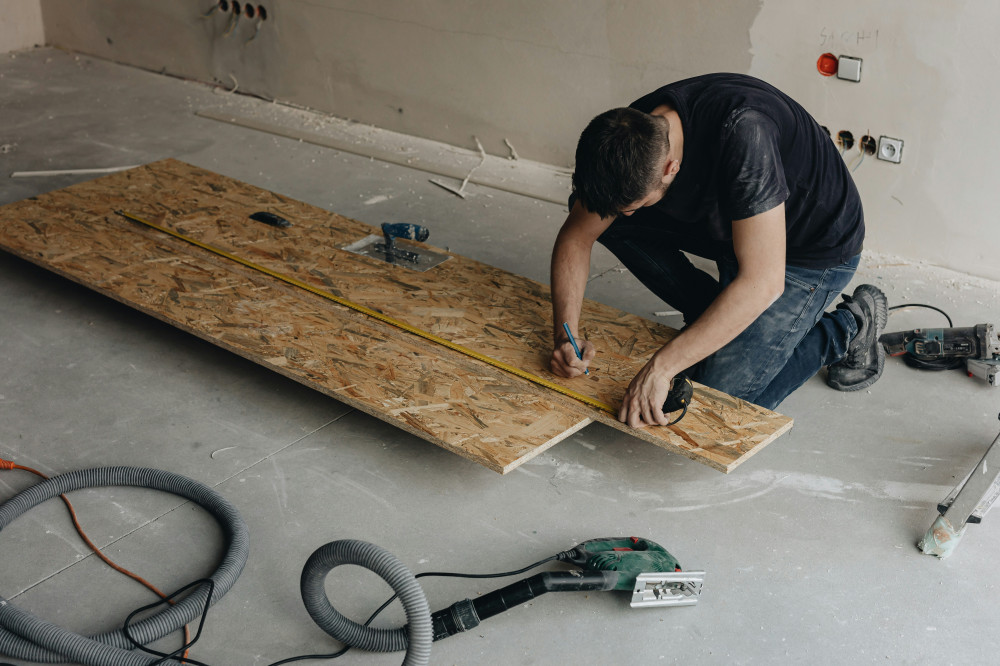
Good preparation is key to a professional finish. Remove all furniture, carpets, and skirting boards, and make sure the subfloor is clean, dry, and level. Fill any uneven areas with levelling compound, and remove old nails or glue residues.
If you’re laying a new floor over an existing one, ensure the old surface is stable and secure. Check whether doors will need trimming if the new floor height changes.
6. Consider Professional Help
While many flooring projects can be tackled as DIY, it’s often worth hiring a professional – especially for complex jobs such as levelling, underfloor heating, or fitting solid wood floors. A qualified installer can ensure the work is done correctly and may offer a guarantee.
Get several quotes, check reviews, and choose a tradesperson with experience in the specific type of flooring you’ve chosen.
7. Finishing and Maintenance
Once your new floor is installed, it’s time to protect your investment. Follow the manufacturer’s care instructions for cleaning and maintenance. Use felt pads under furniture, avoid excessive water when mopping, and re-oil or re-lacquer wooden floors as needed.
A well-maintained floor will stay beautiful for years and make your home more comfortable and inviting.
A Fresh Start Underfoot
A floor renovation is more than just a practical upgrade – it’s a chance to refresh your home’s atmosphere and create a space that suits your lifestyle. With careful planning, a realistic budget, and the right materials, you can achieve a result that looks great and stands the test of time.
Læs også: