Tiles That Last: How to Make Sure They Stay Firmly in Place

Tiles That Last: How to Make Sure They Stay Firmly in Place
A well-laid patio, driveway or garden path can transform your outdoor space – but only if the tiles or paving slabs stay level and secure. Over time, many homeowners find that their tiles start to wobble, sink or become uneven. The good news is that with the right preparation and maintenance, you can keep your paving looking great for years. Here’s a practical guide to help you get it right from the start.
Begin with a Solid Base
A strong foundation is the key to long-lasting paving. Whether you’re laying tiles for a patio or a driveway, start by excavating to the correct depth.
- For patios and paths: Dig down about 20–25 cm.
- For driveways: Go deeper – around 30–35 cm – to support the weight of vehicles.
Remove all topsoil, roots and organic material, and make sure the base is level. Then add a layer of compacted sub-base material such as MOT Type 1 or crushed stone. Use a plate compactor to ensure it’s firm and even. If the base isn’t properly compacted, the tiles will soon start to move.
Ensure Proper Drainage
One of the most common mistakes is forgetting to create a slight slope for drainage. Without it, rainwater can pool on the surface or seep into the joints, eventually loosening the tiles.
A fall of 1–2 cm per metre away from the house is usually enough. Use a long spirit level or a taut string line to check the gradient as you work.
Choose the Right Bedding Layer
On top of the sub-base, add a layer of sharp sand or grit sand about 3–5 cm thick. This layer allows you to level the surface precisely before laying the tiles. Screed the sand with a straight edge to create a smooth, even bed.
Avoid walking on the sand once it’s levelled. Lay the tiles directly on top, tapping them gently into place with a rubber mallet so they sit flush and even.
Laying the Tiles
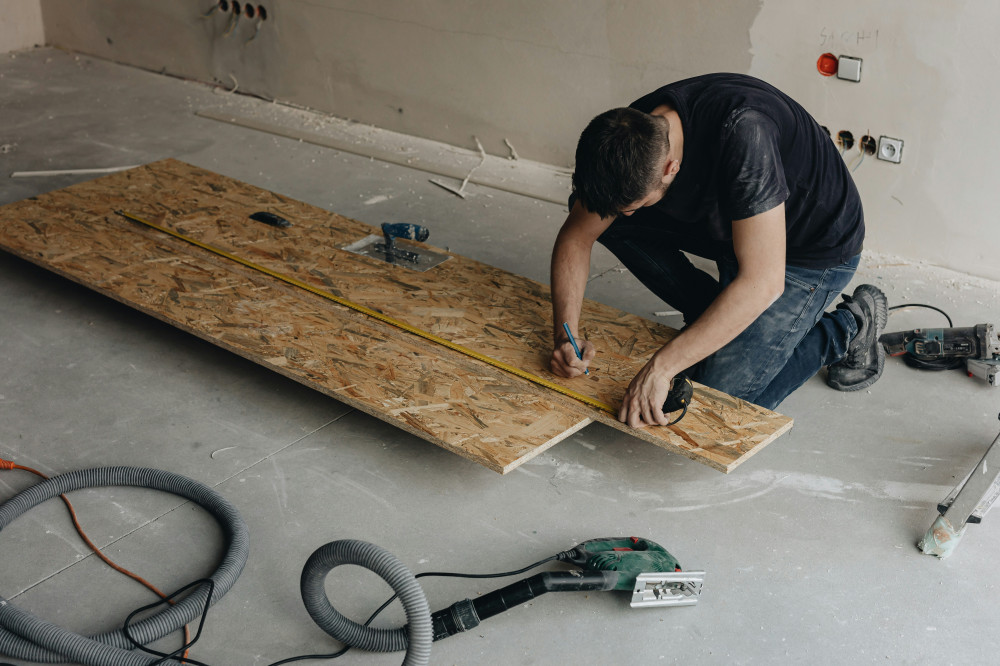
Start from a straight edge – for example, along the house wall or a string line you’ve set up. Keep the joints consistent, usually around 2–3 mm wide. Tile spacers can help you maintain even gaps and achieve a professional finish.
Check alignment regularly with a straight edge or spirit level, and make small adjustments as you go.
Strong, Clean Joints
Once all the tiles are laid, it’s time to fill the joints. Use kiln-dried jointing sand for patios and polymeric jointing compound for driveways or areas with heavier loads.
Brush the sand into the joints, making sure they’re completely filled. After a few days, when the sand has settled, top up any gaps. Well-filled joints help prevent weed growth and keep the tiles stable.
Avoid Common Mistakes
Even small errors during installation can cause big problems later. Here are some pitfalls to watch out for:
- Insufficient compaction – a loose base will lead to sinking tiles.
- No slope for drainage – standing water can cause frost damage and loosen tiles.
- Too thick a sand layer – more than 5 cm can lead to uneven settling.
- No edge restraint – without edging stones or kerbs, tiles can spread outwards over time.
By avoiding these mistakes, you’ll save yourself time and money on future repairs.
Læs også:

Maintenance for Long Life
Even the best paving needs a little care. Sweep regularly to keep the joints filled and free from debris. Remove weeds as soon as they appear. If you use a pressure washer, keep the pressure low and the nozzle at a distance to avoid washing out the jointing sand.
Top up the joints once a year and check that the tiles remain level. Small adjustments now can prevent bigger issues later.
A Lasting Investment
Laying tiles properly takes time and attention to detail, but the result is worth it – a surface that stays firm, level and attractive for many years. With a solid base, correct drainage and regular maintenance, your patio or driveway will not only look great but also stand the test of time.
Læs også: