Step by Step: How to Plan the Bricklaying of a Wall

Step by Step: How to Plan the Bricklaying of a Wall
Building a brick wall takes careful planning, precision, and patience. Whether you’re putting up a garden wall, creating a partition inside your home, or repairing an existing structure, good preparation is key. A well-thought-out plan ensures not only a neat finish but also a strong, long-lasting wall that can withstand the British weather. Here’s a step-by-step guide to planning your bricklaying project – from the first idea to the finished foundation.
1. Define the purpose and location
Before you start, decide what the wall is for. Is it a decorative garden feature, a boundary wall, or a structural element of your home? The purpose determines the materials, thickness, and construction method.
- Garden or boundary walls need to be weather-resistant and sturdy enough to handle wind and rain.
- Internal partition walls can be lighter and may use blocks or bricks depending on the design.
- Load-bearing walls require proper structural design and may need advice from a qualified engineer.
Once you know the purpose, mark out the wall’s position. Use string lines, stakes, and a spirit level to ensure your layout is straight and square. This step sets the foundation for a professional result.
2. Check the ground and prepare a solid foundation
A stable foundation is essential to prevent the wall from cracking or sinking. For most garden walls in the UK, dig a trench about 300 mm wide and at least 150 mm deep for low walls, or deeper for taller ones. The base should extend beyond the wall on both sides.
Fill the trench with compacted hardcore, then pour a concrete footing (a mix of cement, sand, and aggregate). The top of the footing should be level and smooth. Allow it to cure for at least 24 hours before you start laying bricks.
For internal walls, you may be able to build directly on an existing concrete floor, but always check that the surface is level and sound.
3. Choose the right materials
Your choice of materials affects both the look and durability of the wall. Common options include:
- Clay bricks – traditional, attractive, and available in many colours and textures.
- Concrete blocks – strong and cost-effective, ideal for structural or garden walls.
- Lightweight blocks – suitable for internal partitions where insulation and ease of handling matter.
Select a mortar suitable for your materials and conditions. A general-purpose mortar (1 part cement to 5 parts soft sand) works for most brickwork, but for softer or older bricks, a lime-based mortar may be better. Ask at your local builders’ merchant if you’re unsure.
4. Gather tools and equipment
Having the right tools ready makes the job smoother and safer. You’ll need:
- Brick trowel and pointing trowel
- Spirit level and plumb line
- Brick line and line pins
- Mixing bucket or cement mixer
- Club hammer and bolster chisel
- Wheelbarrow and shovel
- Safety gear: gloves, goggles, and sturdy footwear
If your wall will be more than a metre high, consider using a small scaffold or work platform for stability and comfort.
5. Create a detailed work plan
Before you start mixing mortar, plan the sequence of work. Think about:
- How many courses (rows of bricks) you’ll need.
- Where you’ll start and finish the wall.
- How to handle corners, openings, or changes in height.
- When to take breaks so the mortar doesn’t dry out too quickly.
Sketch a simple drawing with measurements and brick layout. This helps you visualise the project and avoid mistakes once you begin.
6. Check the weather and working conditions
In the UK, weather can make or break a bricklaying job. Avoid working in freezing temperatures, heavy rain, or strong sun. Cold can stop mortar from setting properly, while heat and wind can dry it too fast. Cover your work with a tarpaulin if rain is forecast, and protect fresh mortar from frost overnight.
For indoor projects, ensure good ventilation so moisture can escape and the wall dries evenly.
7. Prepare for safety
Even small building projects require attention to safety. Wear gloves to protect your hands from lime and cement, goggles to guard against splashes, and sturdy boots to prevent injury from dropped bricks. Keep your workspace tidy and free of tripping hazards. If lifting heavy materials, use proper technique or get help.
8. Get ready to start bricklaying
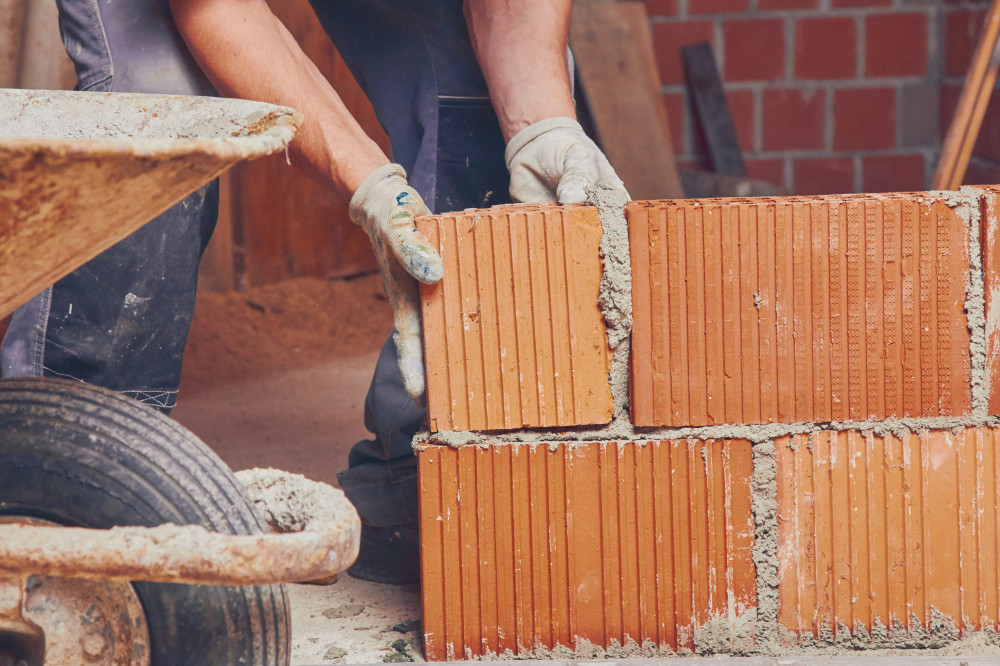
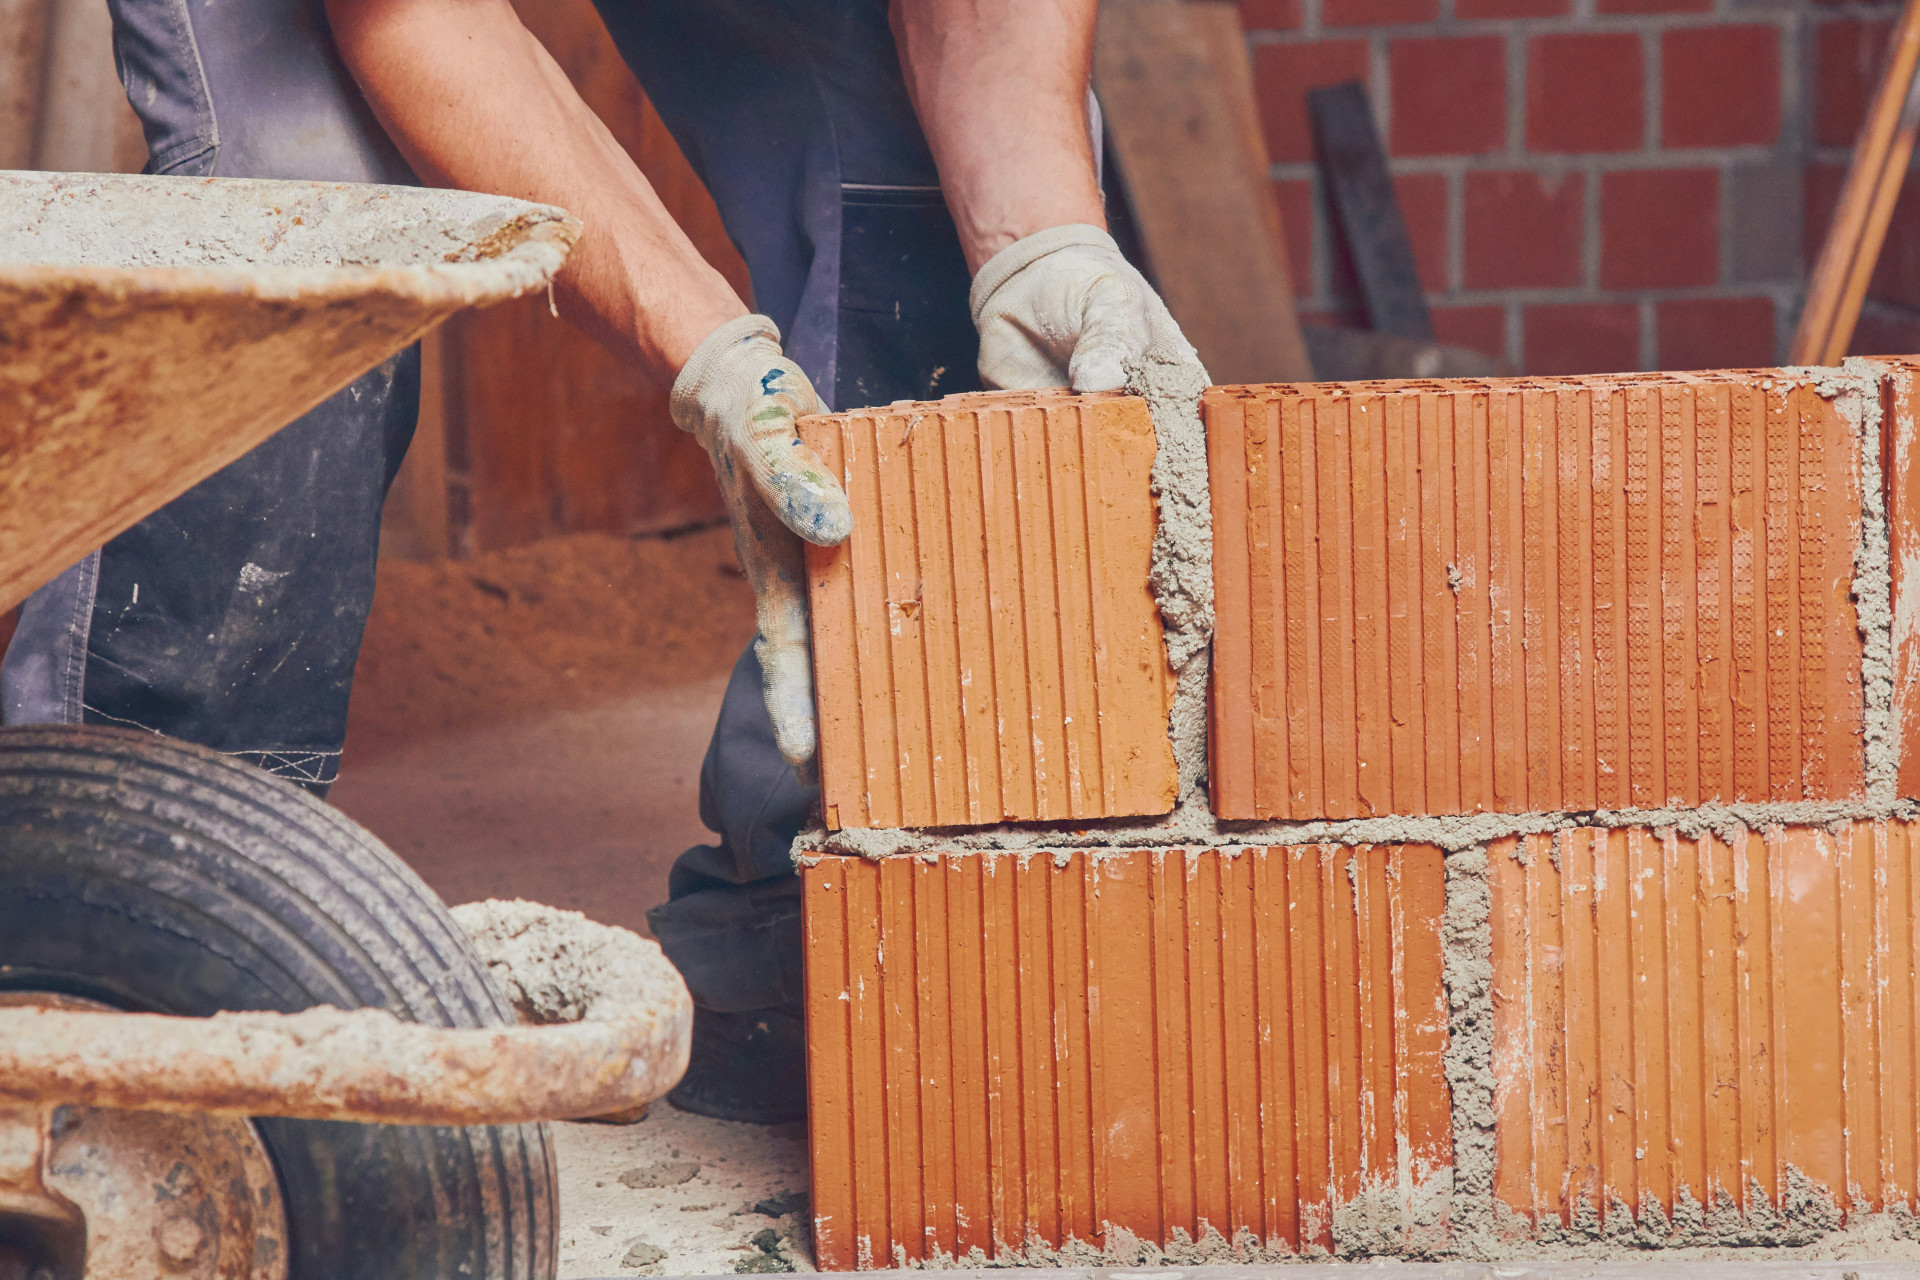
Once your foundation has cured and materials are on site, you’re ready to begin. Lay the first course carefully, checking that it’s level and straight – this will guide the rest of the wall. Use your brick line to keep each course even, and check alignment regularly with a spirit level.
Work steadily, applying mortar evenly and removing excess as you go. Consistency and patience will give you a clean, professional finish.
9. Finishing and aftercare
When the wall is complete, allow it to set and cure. Protect it from rain or frost for the first few days. Once the mortar has hardened, brush off any residue and tidy the joints if needed. For outdoor walls, you can apply a breathable water-repellent treatment to help protect against damp.
Finally, clean your tools, clear the site, and take a moment to admire your work – a solid, straight wall built to last.
Læs også:
A good plan leads to a great result
Bricklaying isn’t just about skill with a trowel; it’s about preparation and planning. By taking the time to design, measure, and organise your work, you’ll make the building process smoother and the final result stronger and more attractive. With the right materials, a solid foundation, and careful attention to detail, you can create a wall that stands firm for years to come.
Læs også: